DIY – CAT HOUSE
We are teaming up with the super talented Astrid of the SP4NK blog, she is a master of DIY funky crafts. She’s a trendy French blogger with a soft spot for watermelon and pineapples. (how could we not like her?) She will be bringing some colorful craft projects here on the Baba blog. Our first collab: this irresistible cat house made out of cardboard boxes!
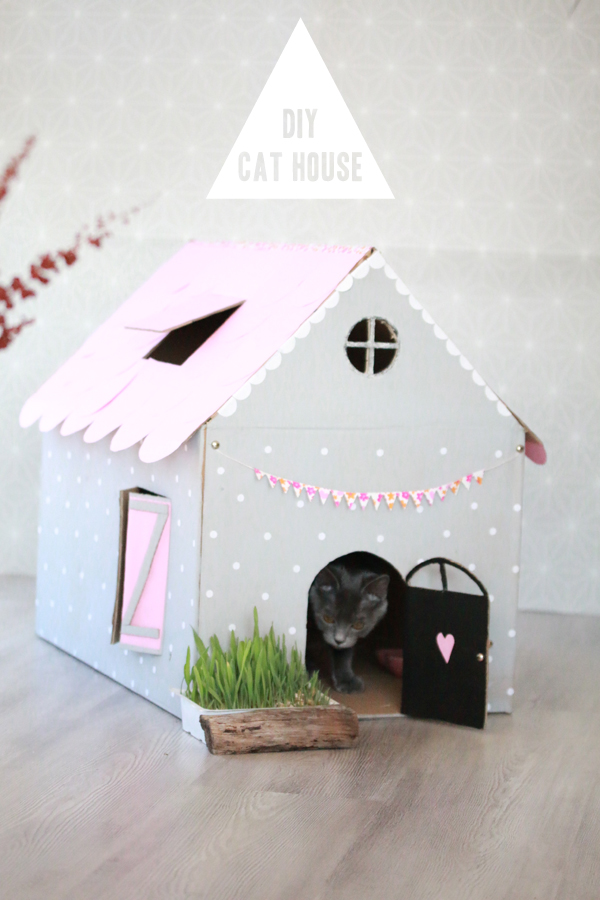
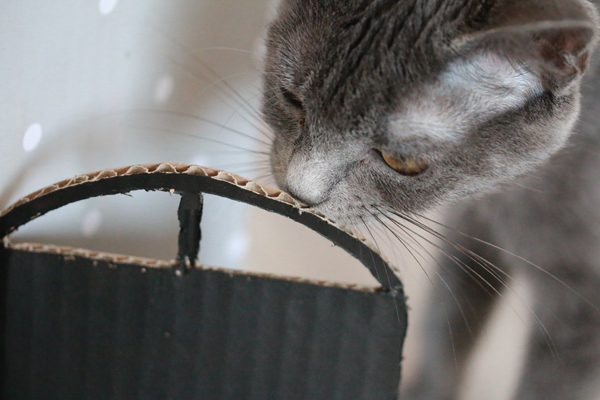
Little Siouxsie looks like she’s enjoying her new little dotted pink home.
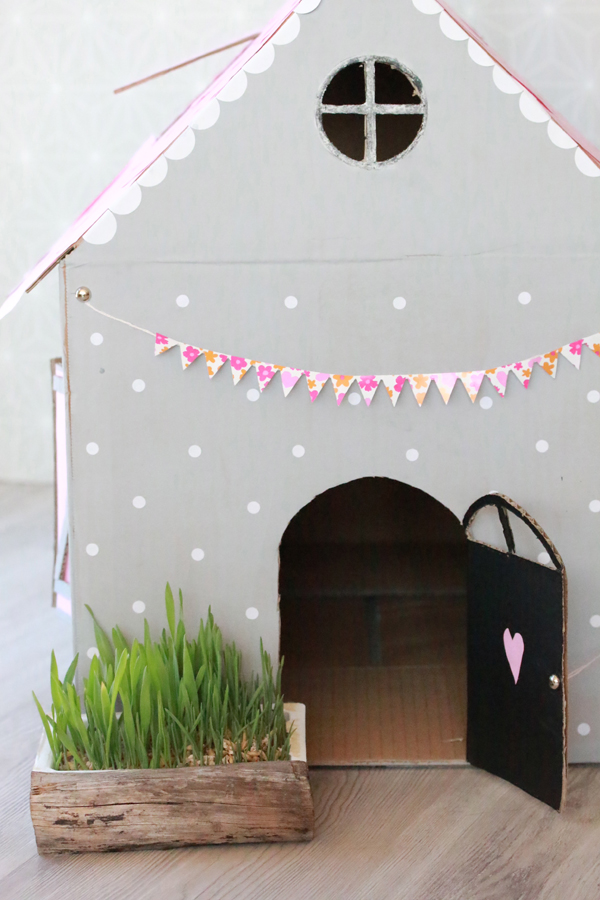
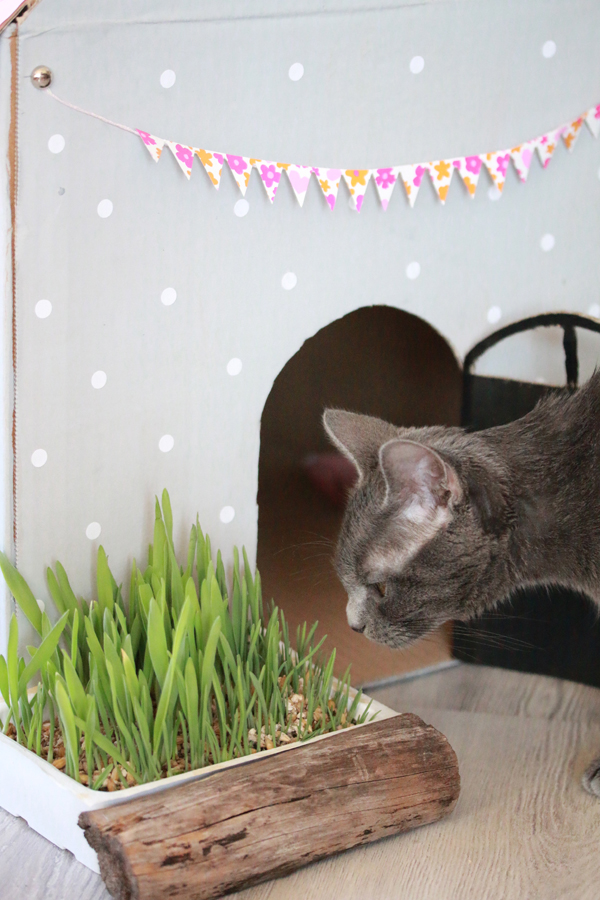
I really like the little cat herbs addition near the front door, it looks like a little garden.
Click below for the step by step instructions and learn how to make your own!
What you need:
– Two pieces of cardboard (from a box)
– 3 scrapbook rivets
– Sandpaper
– Colorful paper (we used a cute floral one)
– Sticker dots, 1/4” and 1”
– Grey (or any other color) acrylic paint
– Black chalkboard paint
– Exacto, ruler, pencil, paintbrush, glue, compass
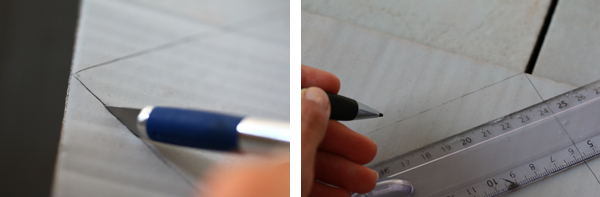
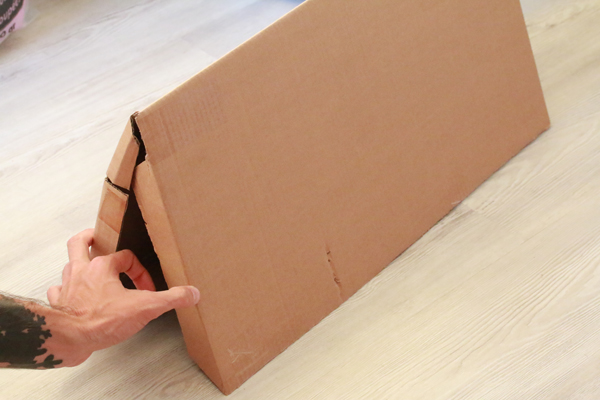
STEP 1: Making The Walls
To begin, cut the cardboard box to make the walls of your house. Open up the box to make a flat sheet of cardboard. Remove two flaps. Cut triangles out of the other two pieces. These will be used to hold up the roof. Then glue the bottom of the cardboard so it is fixed.
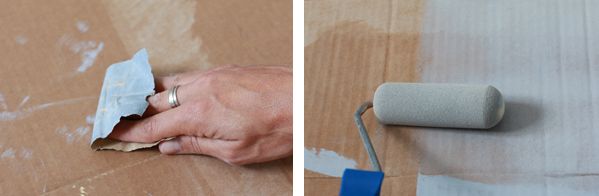
STEP 2: Painting The Walls
Unless you are using a brand new box, you will have to sand your cardboard lightly, so that the surface is ready to paint.Now you can start painting. I gave two coats of grey acrylic paint and then let it dry for 30 minutes.
STEP 3: Making The Roof
While your paint is drying, you can start cutting out the roof. You will have to use a ruler. Measure the full length of your triangle and add 1/4” so that the roof extends over the walls.Then measure the length between your two triangles, once more adding 1/4” to create flaps that will enable you to secure the roof to the walls of the house. Use these measurements to cut out the roof. Once the roof is measured and cut out, fold it in two and hold the fold for a couple of minutes to firmly establish the crease.
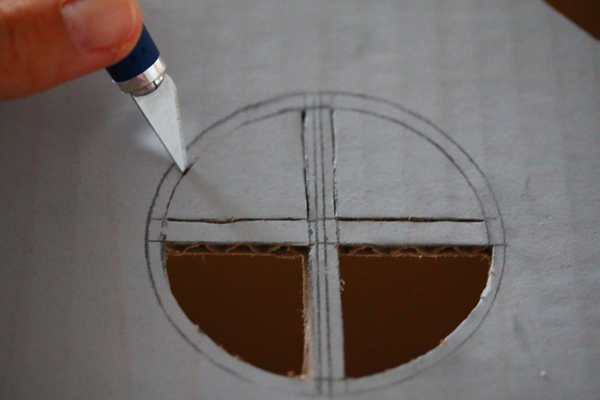
STEP 4: Decorating The House
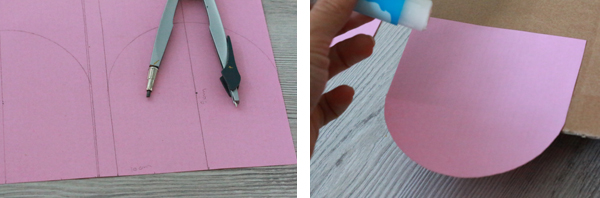
Now we will start making it look like a real dollhouse. To start, I chose to make a window on the front where the entrance will be located. To make the round window, I used a compass and a ruler and I cut it out with an exacto knife. I did the same thing for the door. To center the door, I measured the length of the front wall, but you don’t have to be that picky.
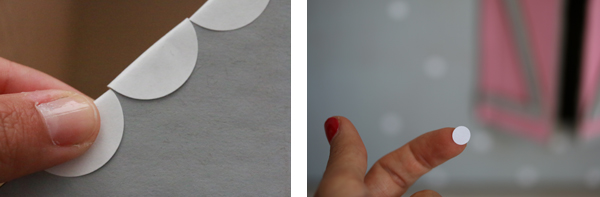
Needless to say, you can use your imagination here, your house doesn’t have to look exactly like mine. I used 1” sticker dots on the upper walls to make them look cute. To add a small graphic touch to my house, I used smaller sticker dots on all four walls.
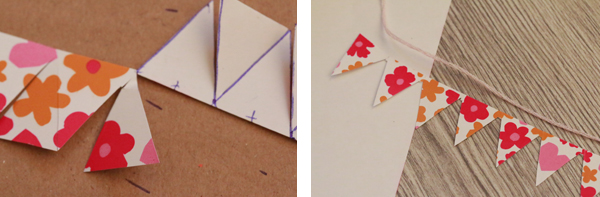
Then I cut some small triangles out of colorful printed paper to create a banner which I then glued to some cotton thread. I used small rivets to secure the pennants to the cardboard.
To finish the entrance wall, I used black chalkboard paint for the door so that I could easily write whatever I wanted on it.
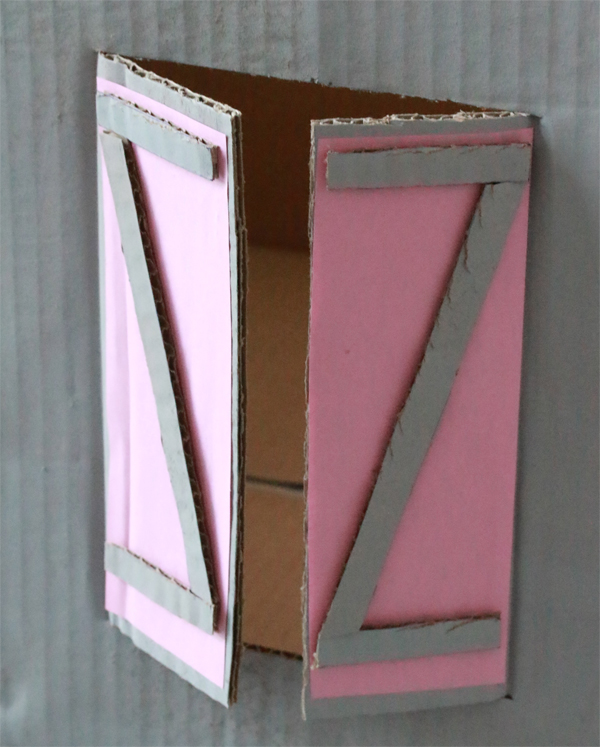
STEP 5: The Side Window
I really wanted to add Basque style shutters to the small window, so first, I cut out an opening in the cardboard and then I added pink paper on the two small flaps. I also cut out three pieces of cardboard to create the Z that is typical of these Basque shutters.
STEP 6: The Roof
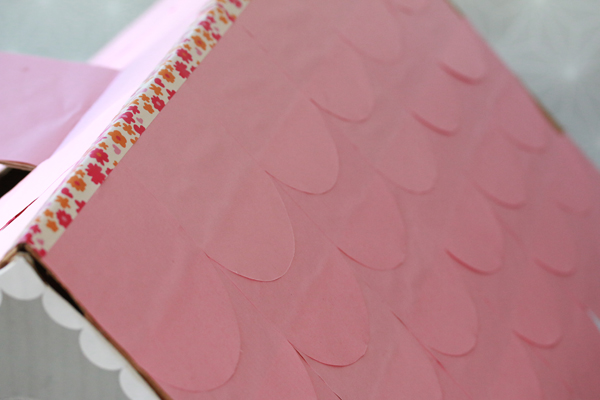
To secure the roof, glue the flaps to the cardboard triangles. Once the roof is installed, you can focus on decorating it. I used pink paper to cut out tiles with rounded edges to make them look like authentic slate tiles.The dimensions of the tiles depend on the size of your roof, mine each measured 4 inches long.
We’d love to see your cat house designs! Tag us via Instagram using @babasouk so we can see yours. Have fun!
*This DIY project was created by Astrid of the SP4NK blog for Baba Souk, all pictures are by her.


This is so cute!!
Oh my goodness!!!!!! I absolutely LOVEEE this! Must make this for my 2 kittens right meow. Thank you so much for this tutorial…. ahhhhh :):) SO happy.